Using Power BI Subscribe in DS Templates
DS Templates / Power BI Integration (Subscription per email)
In addition to the standard link with Power BI Embedded and the option to publish Power BI URLs on screens, we offer the Subscribe option. This option may be of interest to the following:
- You don't want to make your report/dashboard public;
- The refresh interval does not have to be faster than 1 hour;
- The report/dash does not have to be interactive on the screen;
- You do not want to pay for Embedded Capacity (necessary with the standard connection based on the API).
You can use this integration as follows:
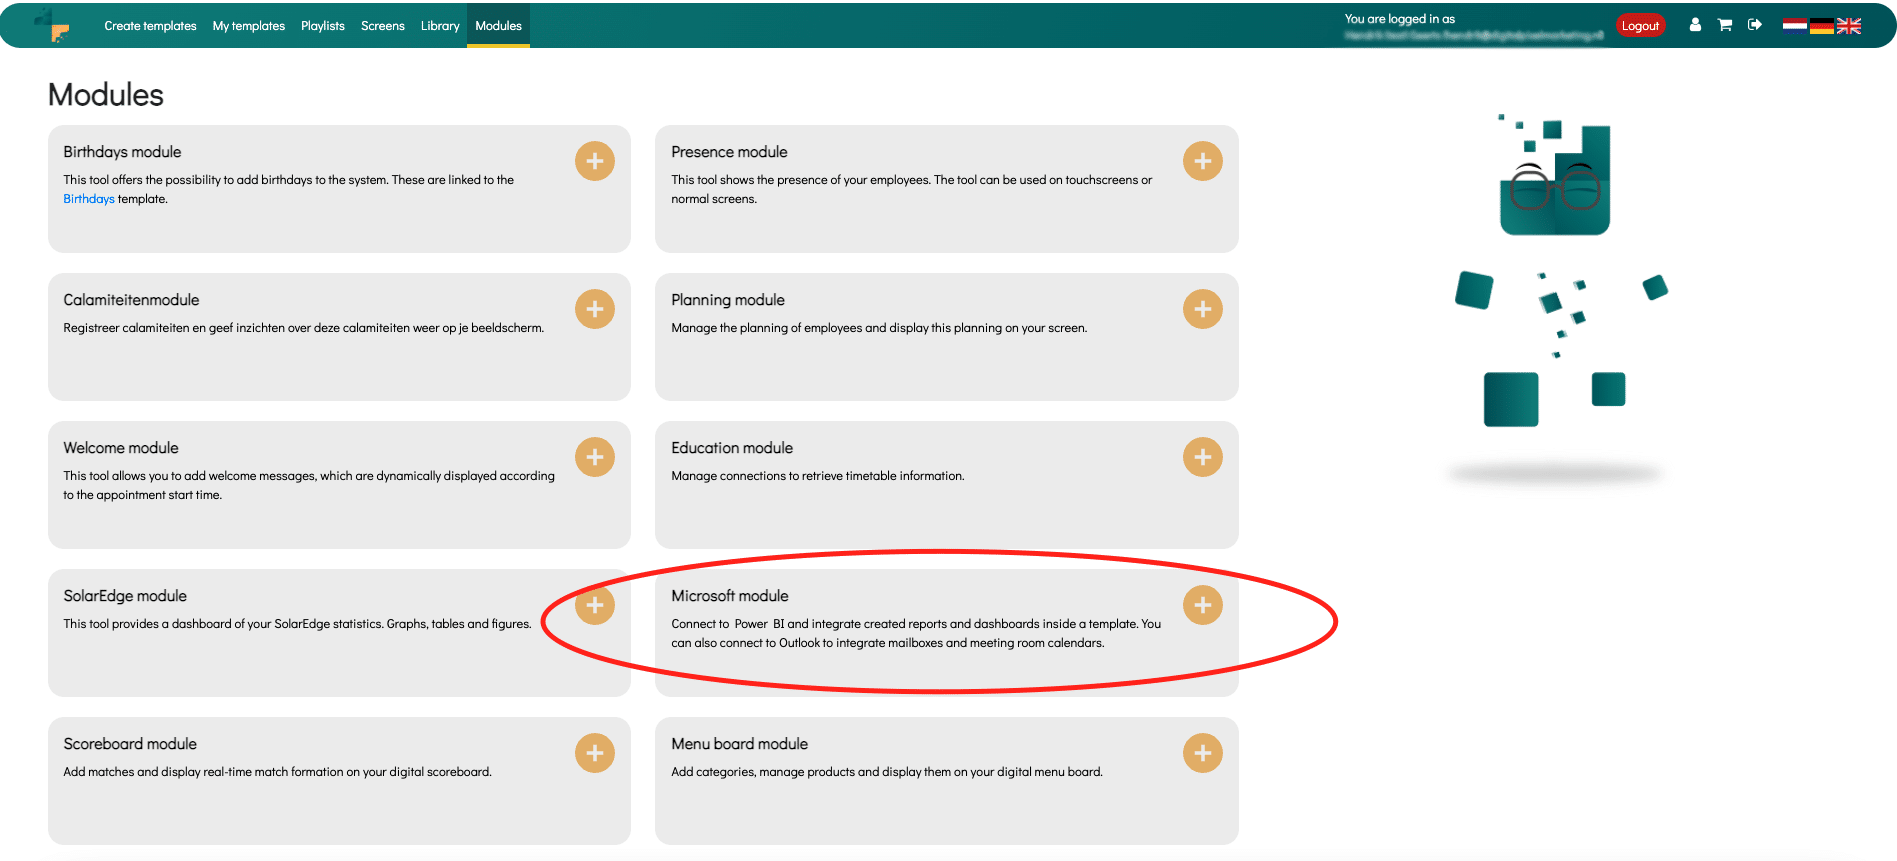
Step 1: Login to DS Templates and go to Modules
Step 2: Go to the Microsoft Module
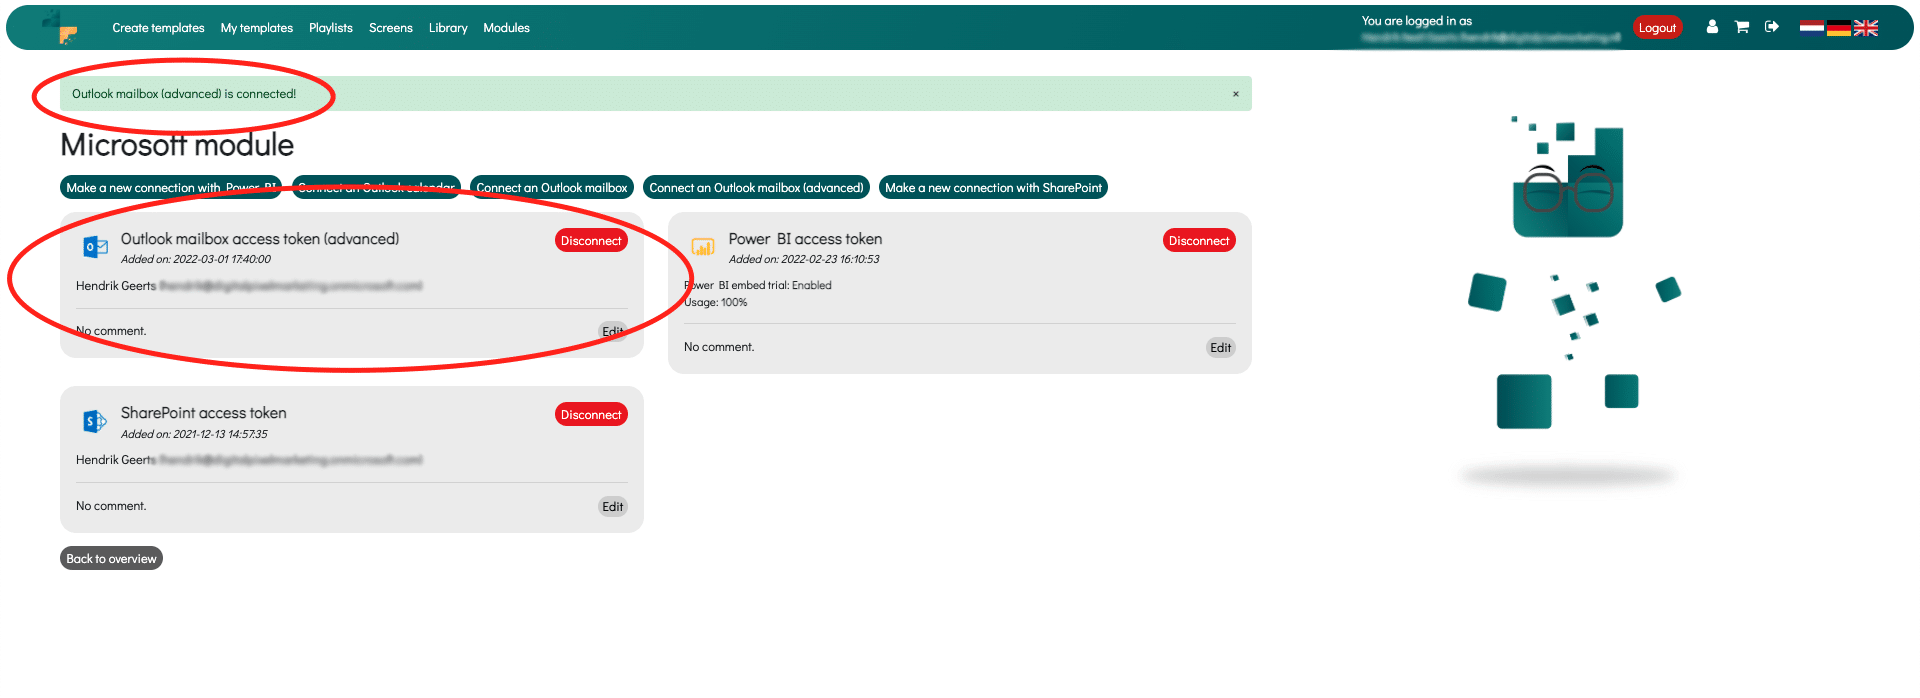
Step 3: Click Connect an Outlook Mailbox (advanced)

Step 4: Login with your Microsoft credentials
Step 5: After successful login you will see a message that the integration was successful
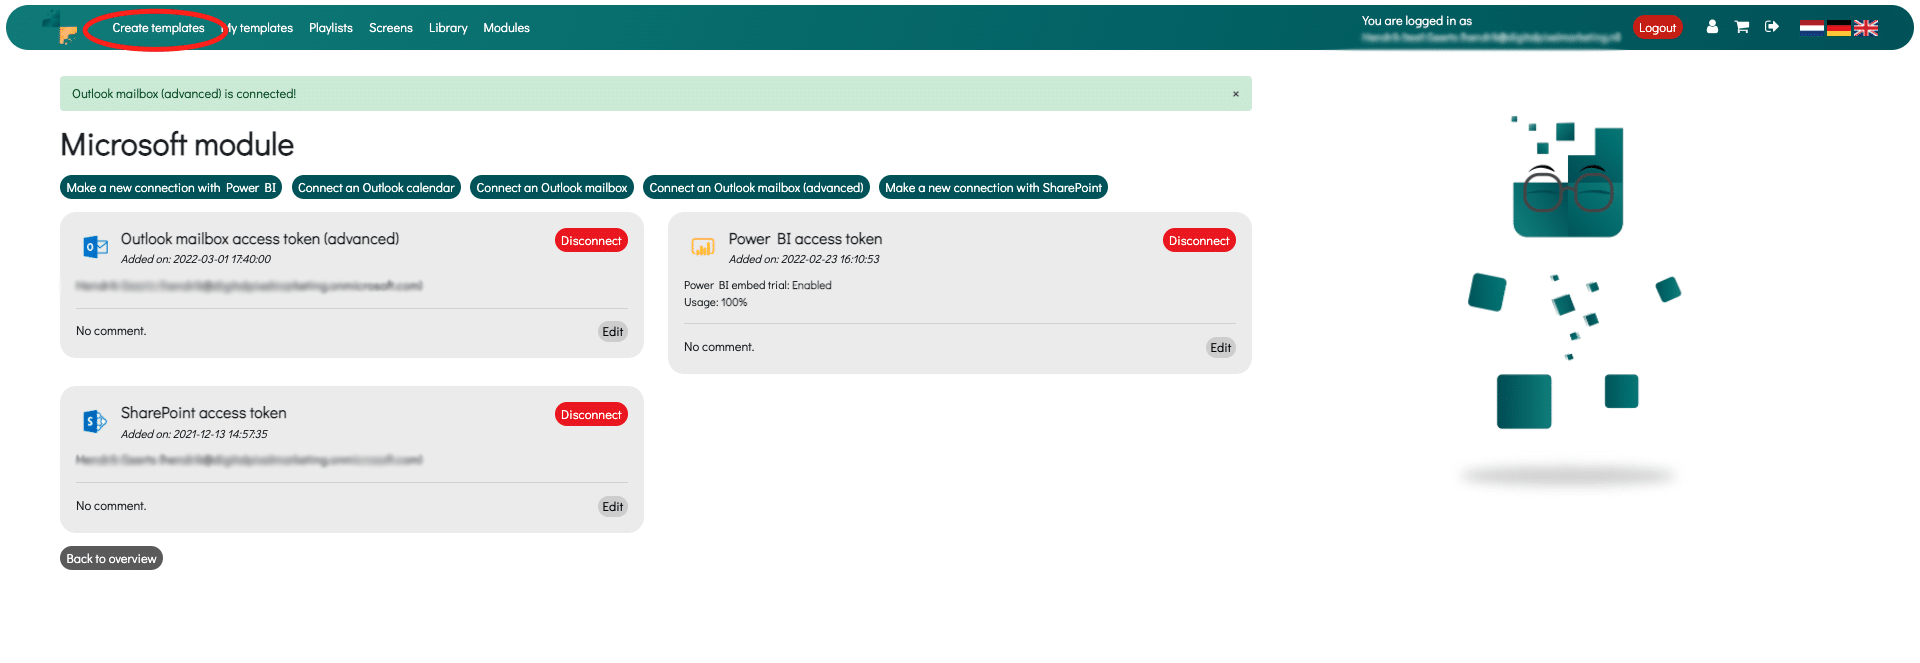
Step 6: Go to Create Templates
Step 7: Search for Power BI using the search bar and select the Power BI Subscribe (if you do not see this template, please contact your admin)

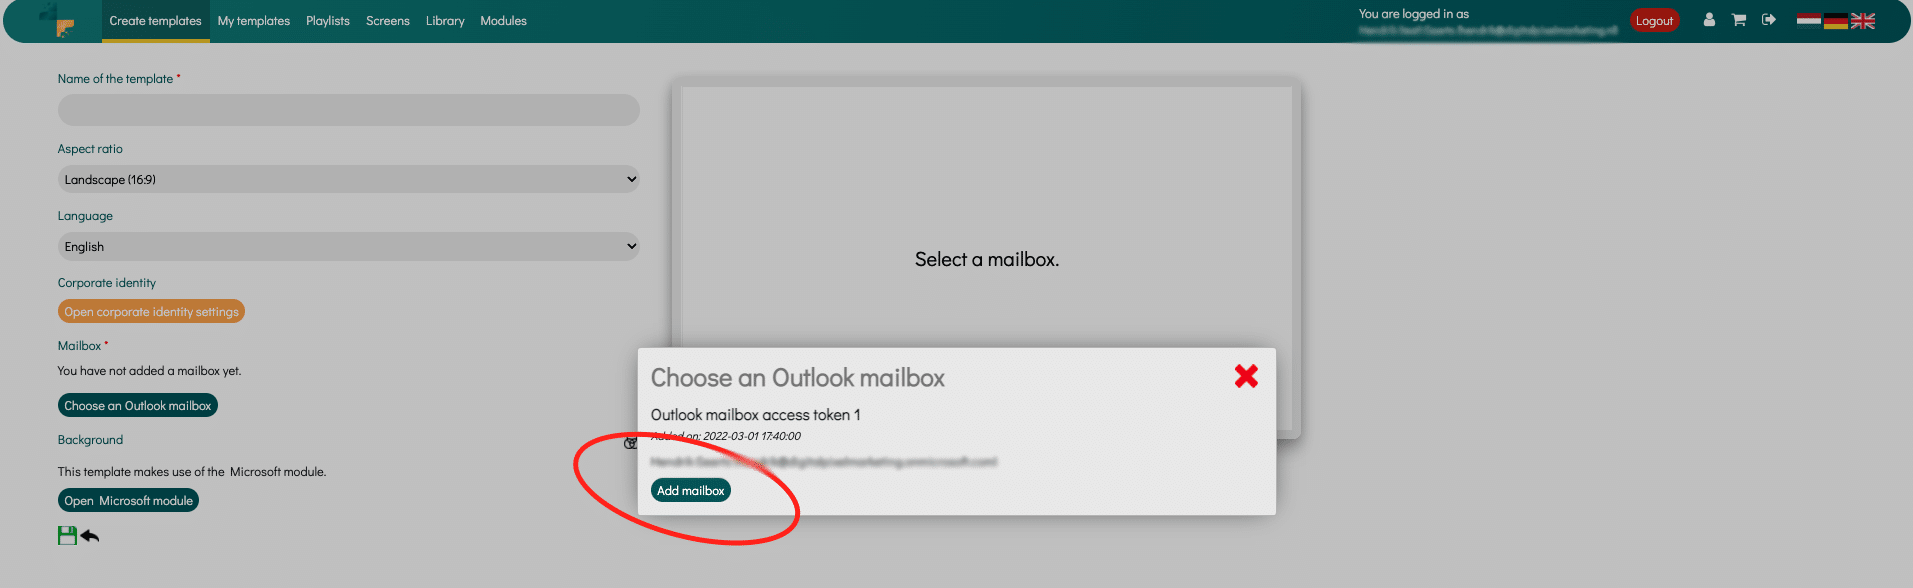
Step 8: You are in the editor, click on Choose an Outlook mailbox (this mailbox is used to read attachments)
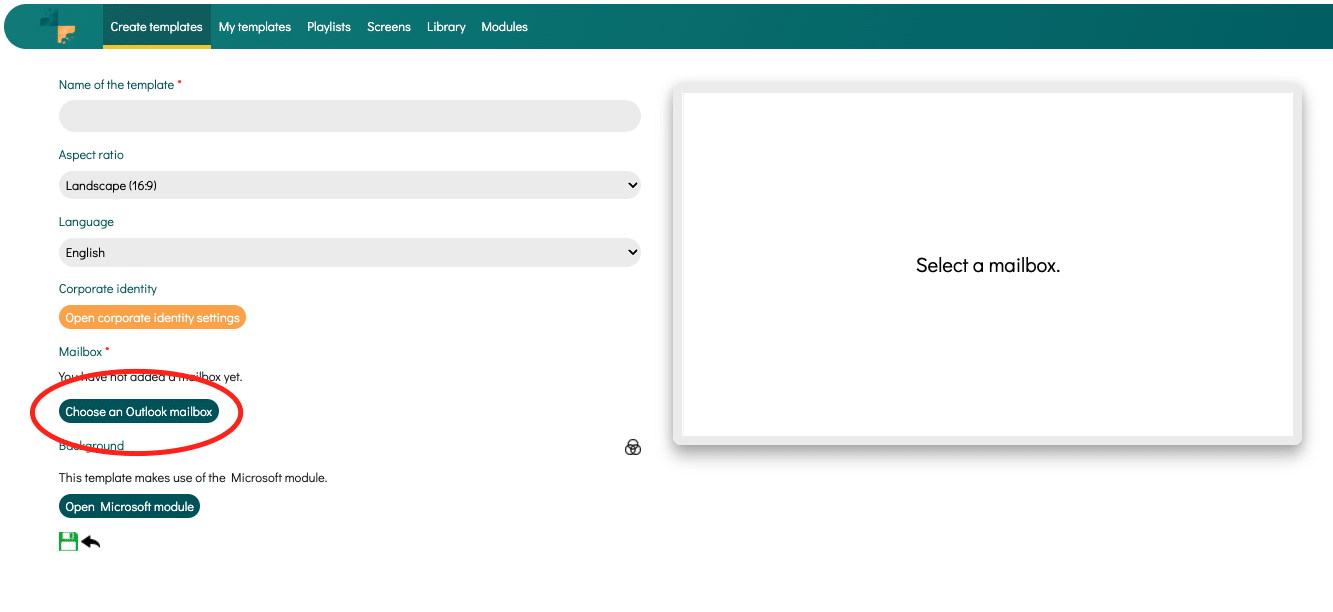
Step 9: You will see an overview of all linked mailboxes. Choose the correct mailbox and click on Add Mailbox
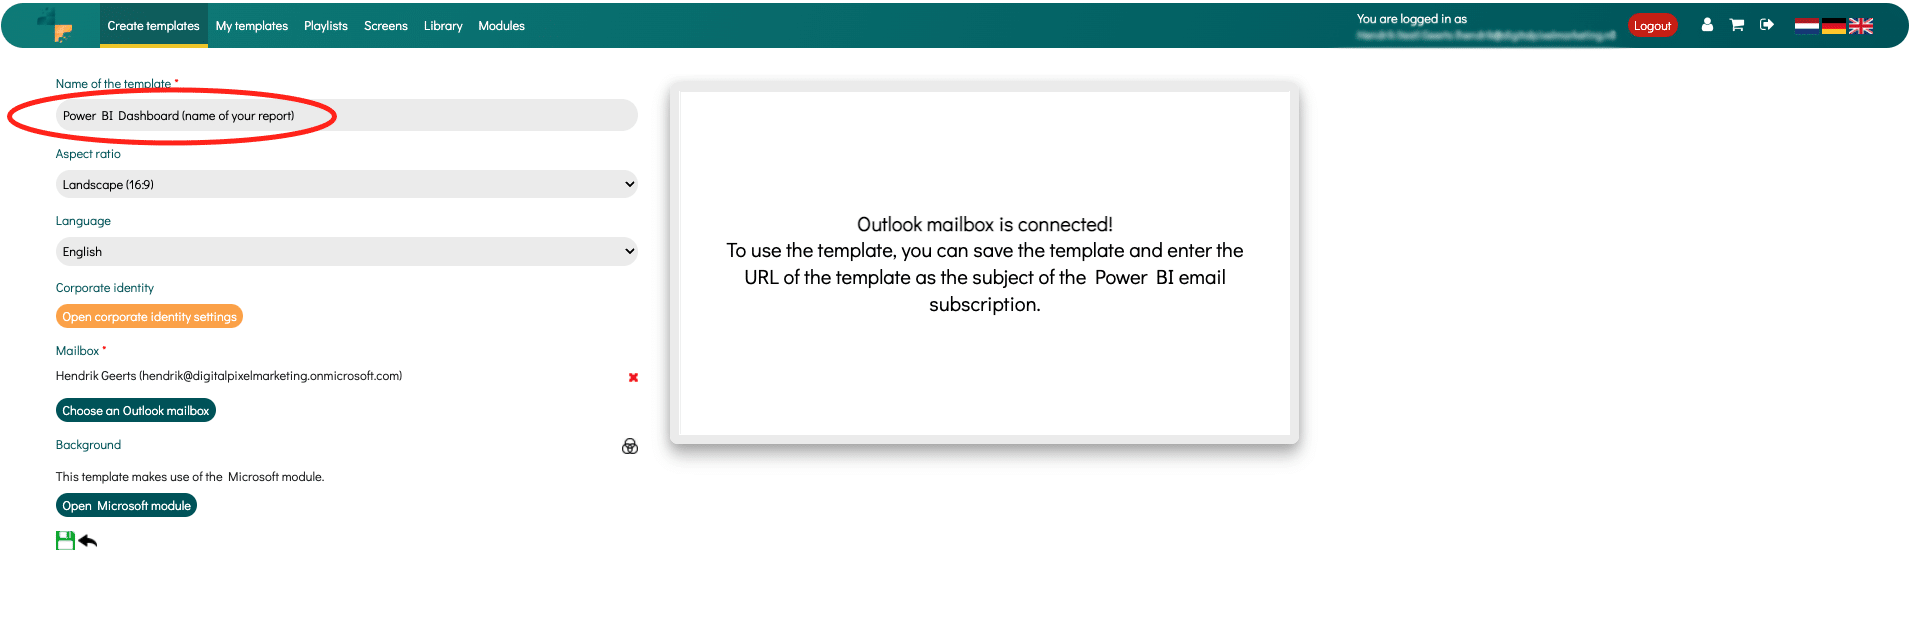
Step 10: Then give the template a name, for example the name of the report/dash that you want to publish here and click Save.
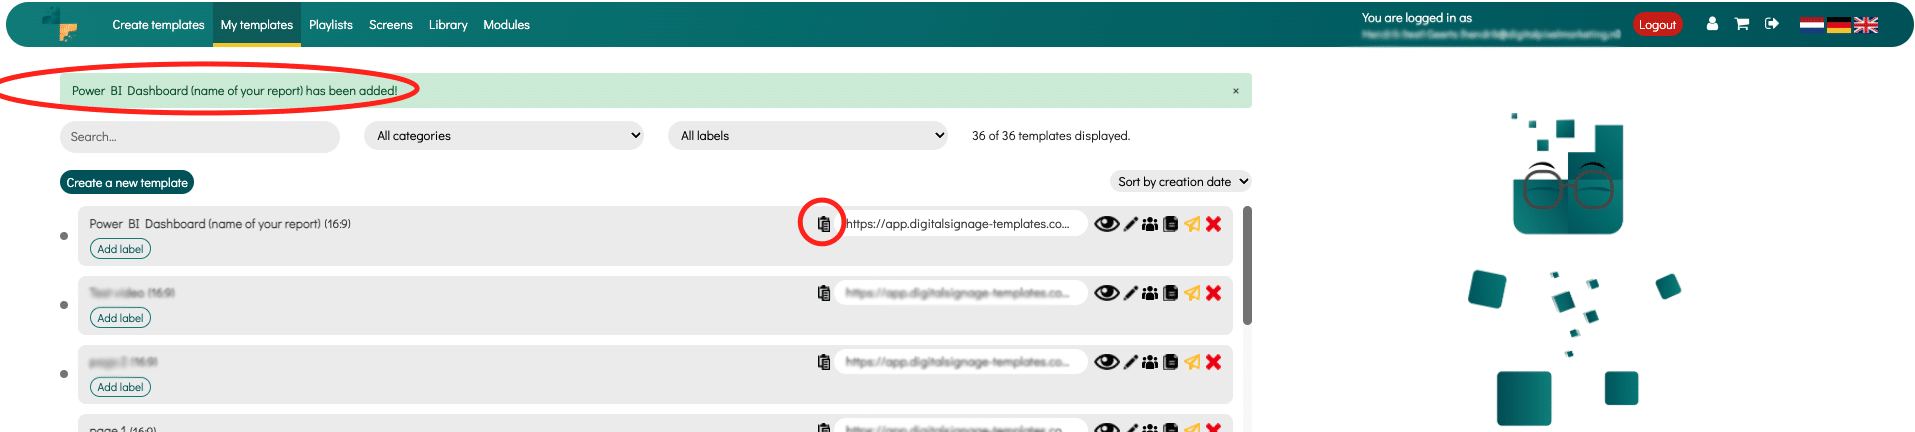
Step 11: You will be redirected to My Templates. In this overview you will find all saved templates, including the just saved Power BI template. Behind the description you will find a copy icon. Click this icon to copy the Template URL. The URL will correspond in the Subscribe email so that the correct report/dashboard is displayed within this template.
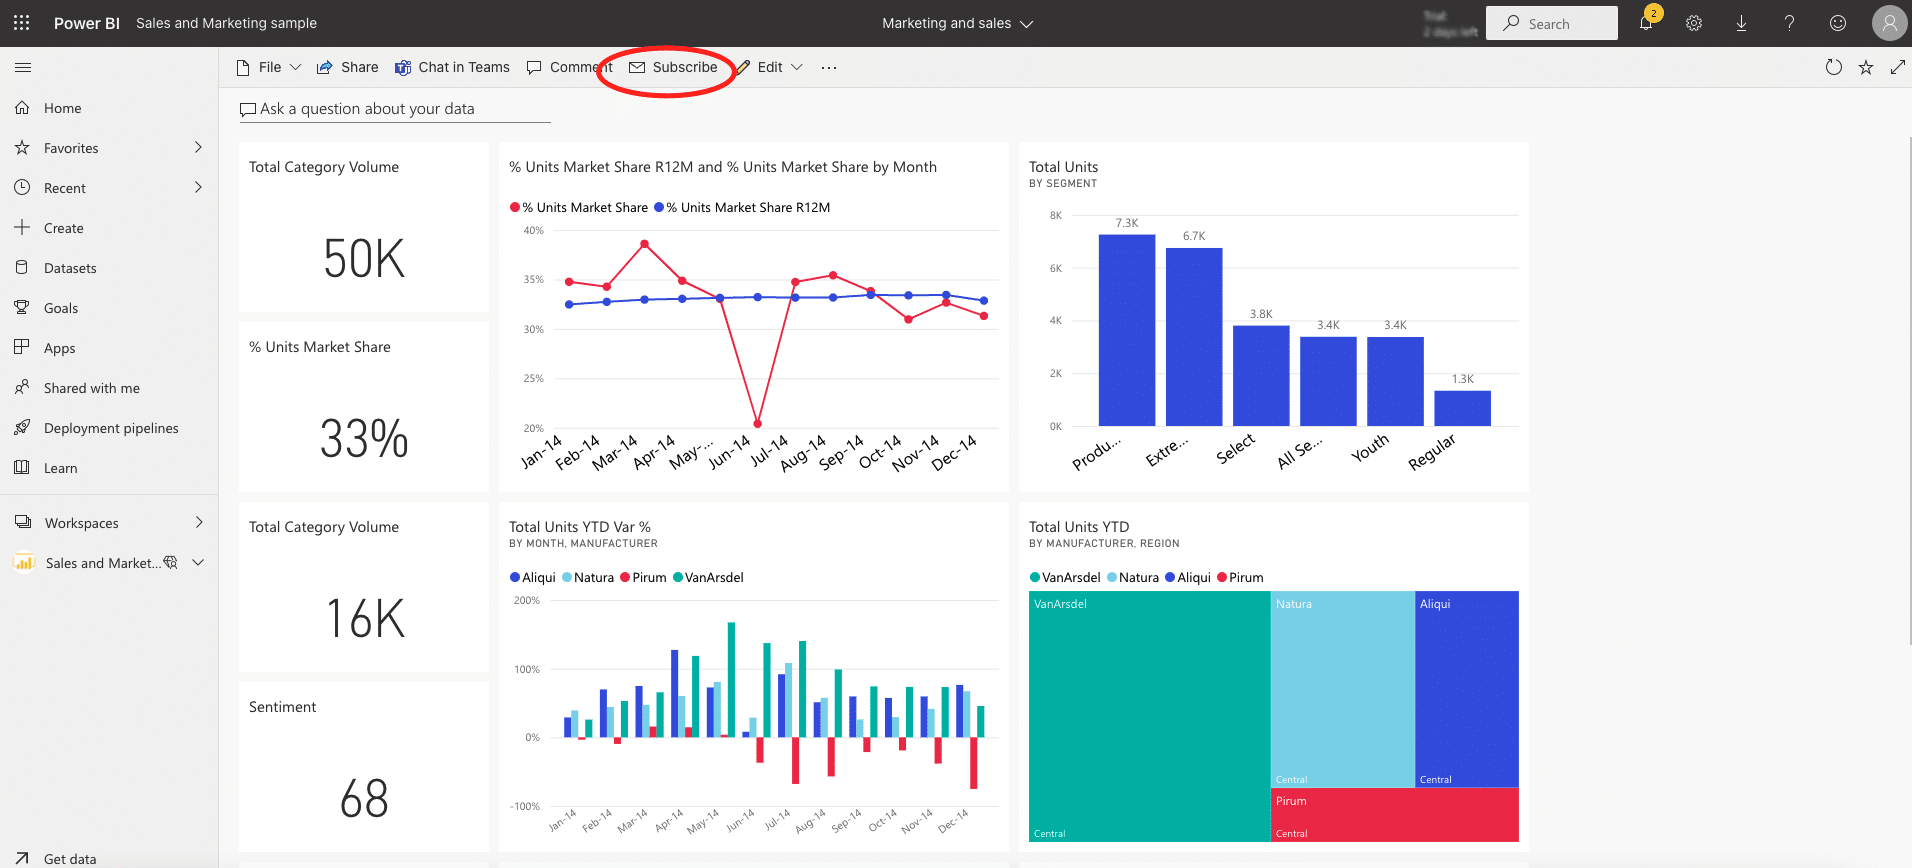
Step 12: Login to your Power BI environment and open the report/dashboard that you want to publish on the screen.
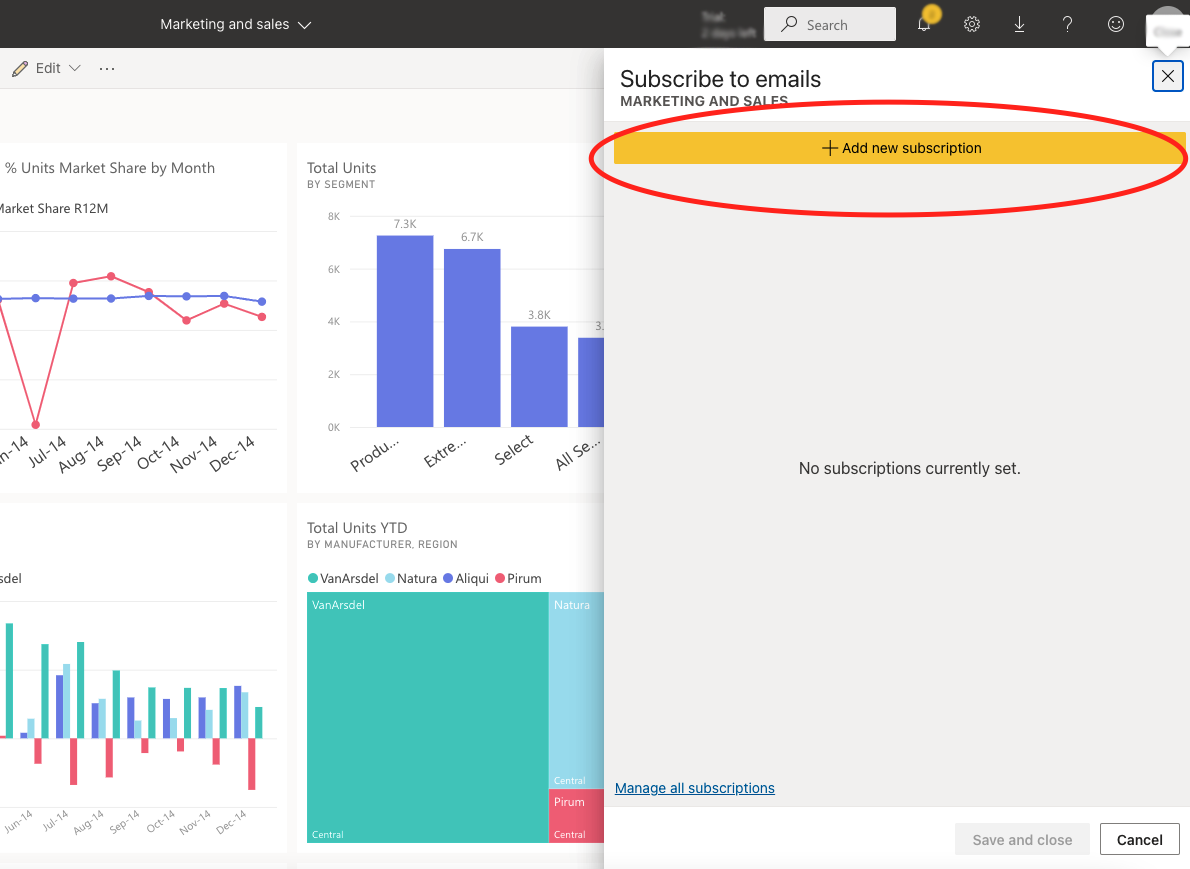
Step 13: Then click Subscribe
Step 14: Then click on Add new subscription
Step 15: Enter all necessary information. Like the E-mail address you linked to DS Templates module. How often the report/dashboard should be sent, etc. Very important in this step is to paste the Template URL into the subject. As a result, DS Templates knows that the emails with accompanying attachments (image of the report/dashboard) belong to the relevant template. After configuring the subscription, click on Save.
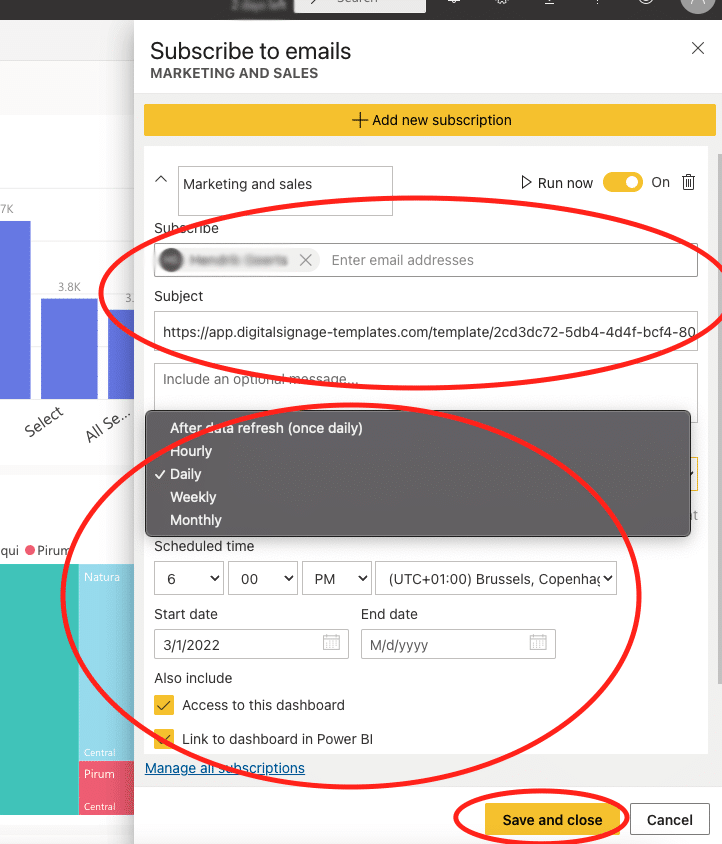
Step 16: Check if the Subscribe is already activated, otherwise click on Run.
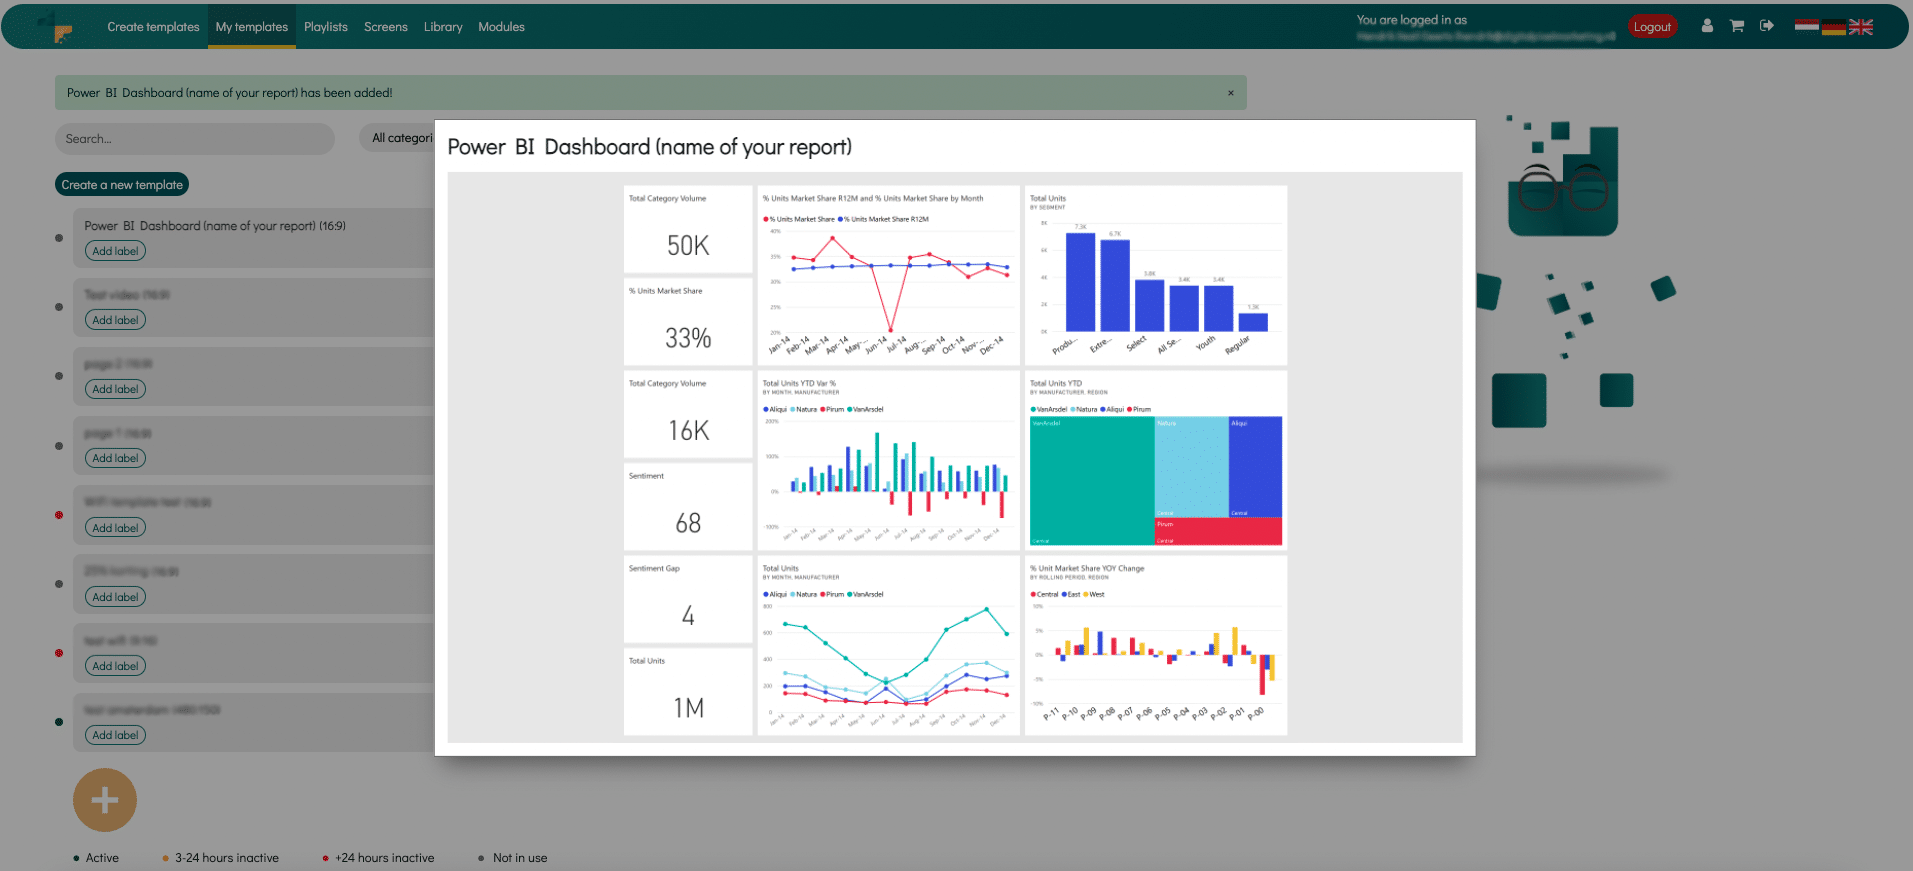
Step 17: Go back to DS Templates - - > My Templates and Preview the created Power BI Template. You will probably see another message: No emails found with (....). Please check again later.

Step 18: When the Subscribe is working, you will automatically see the correct report/dashboard in the Preview.
Step 19: Congratulations, the Subscribe is set up correctly. You can schedule the template into a playlist. This template is automatically updated at the times as indicated within the Power BI Subscription.
Need help with publishing a template to your screen? Click here and scroll to chapter 8.